Google allows charities to have free access to its hosted email service, this means you can access Gmail-like interface but instead of having an address which is along the lines of yourname86966@gmail.com, you will use something much more professional such as yourname@yourchurch.org.uk.
This option is only for churches who are registered as a charity in England, Scotland and Wales.
If you do not already have an account, you will need to sign up with TechSoup to verify your charity status (view guide). Once you have done this you will be presented with a validation token, which you will need to enter later in the process.
For users who do not fall into this category Google do offer a paid for option which at the time of writing is from £5.00 per user per month.
If Church Edit look after your domain name, we will look after the DNS settings for you which you will use later on in this set up process but please be aware that if you manage your own domain name and simply point the name at us for the website then we advise you to find a person locally who can help manage your DNS settings.
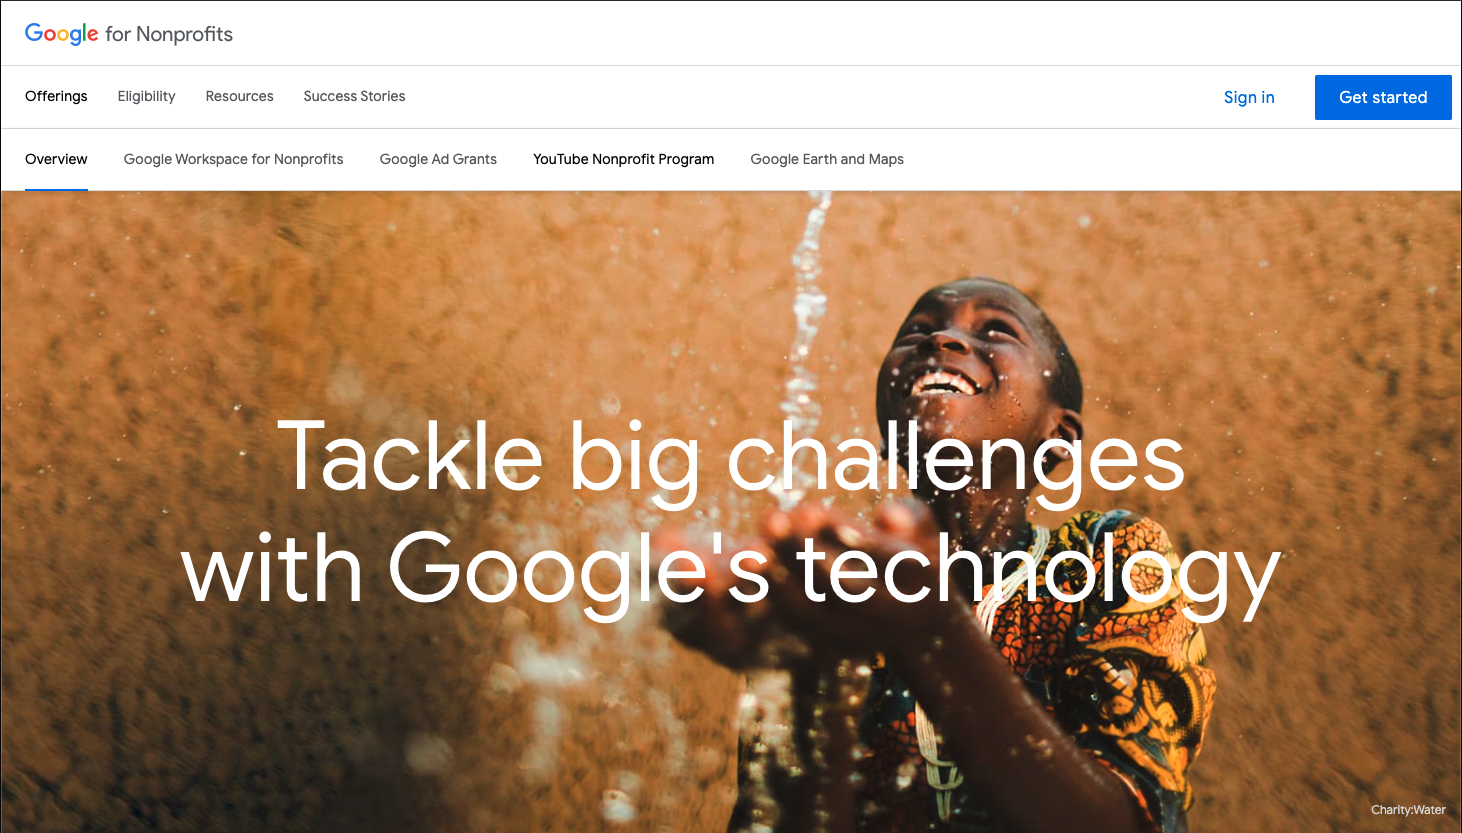
Start by going to the following URL: https://www.google.co.uk/nonprofits and clicking the "Get Started" button.
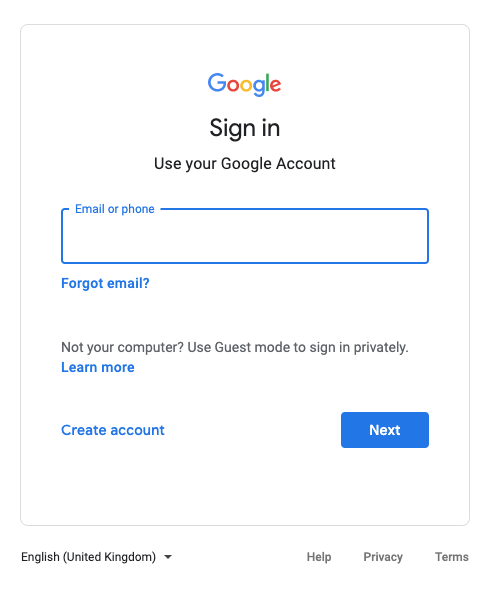
You will need to sign in to an existing gmail account, or create a new account.

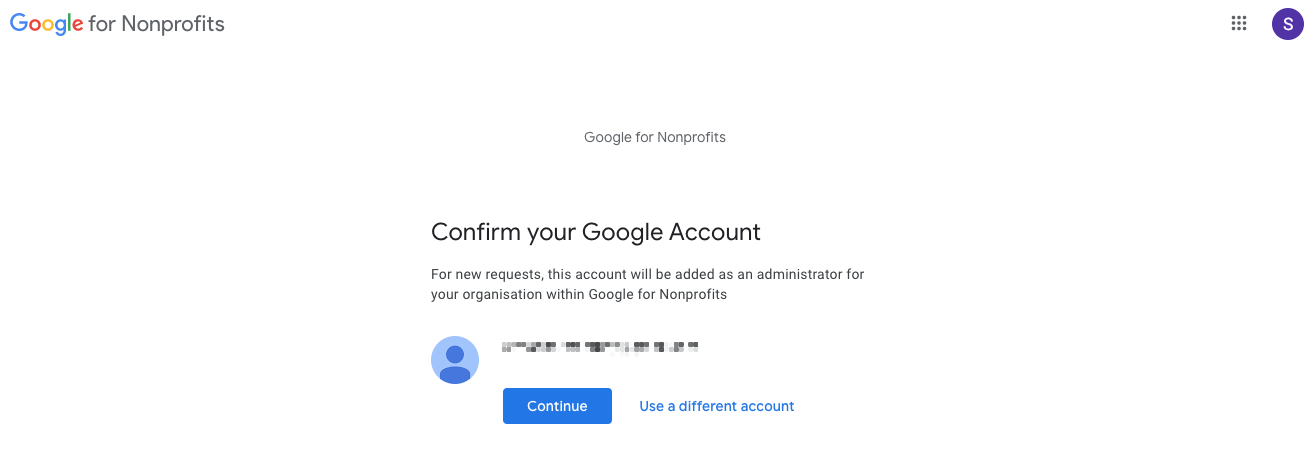
If you are creating a new account, select the option 'To manage my business'. Then follow the process to create and verify your new gmail email address. Once you've completed the process, you'll be asked to confirm that you want this account to be added as an administrator for your Google for Non-profits account, click 'Continue'.

You will need to confirm that you are not a hospital or health care organisation, not school, college or university and not a governmental entity or organisation. Then you will need to confirm which country you are registered in, this will usually default to the correct country.

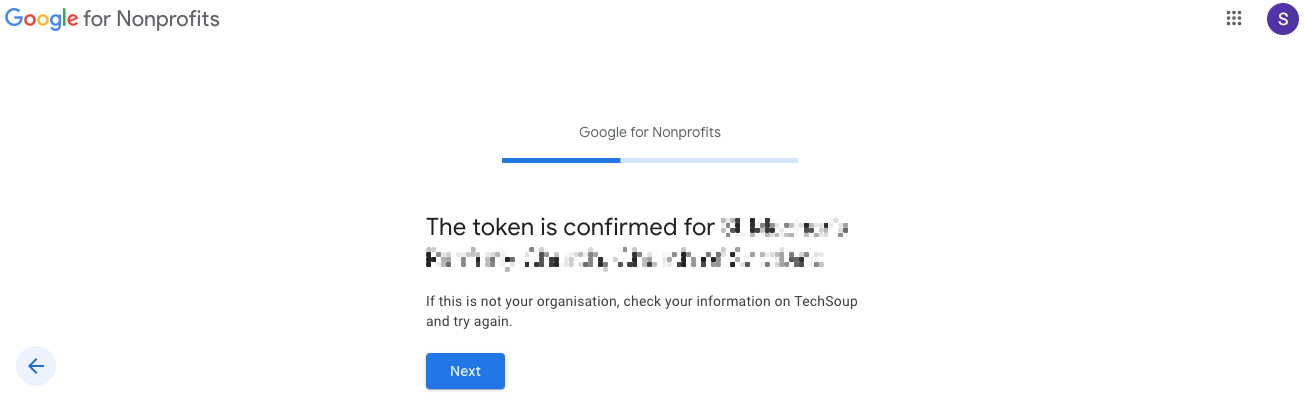
After clicking 'Next', you will be asked to enter your TechSoup validation token. If you haven't already obtained the token, click the link to be taken to the TechSoup website, otherwise you can enter the token you have obtained.
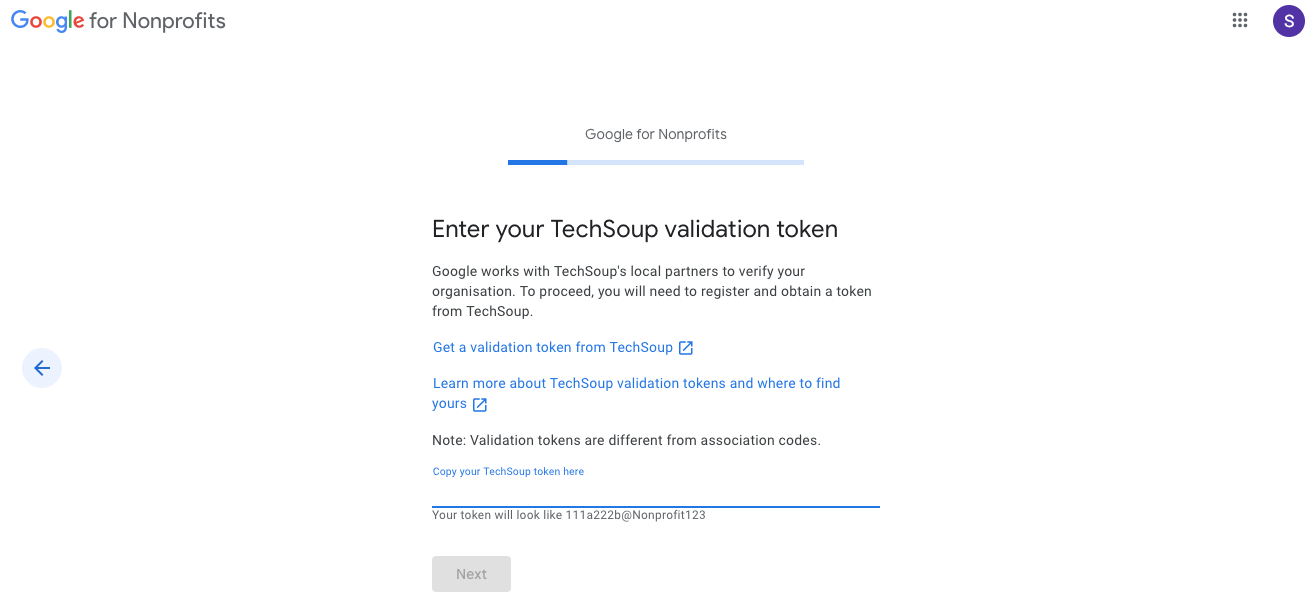
If the token is valid, you will receive a confirmation screen and you will need to click the 'Next' button
You will then need to enter the organisations phone number and web address, your name and job title and agree to the terms and conditions. You will then be able to start the process of activating your Google for Non-profits products.
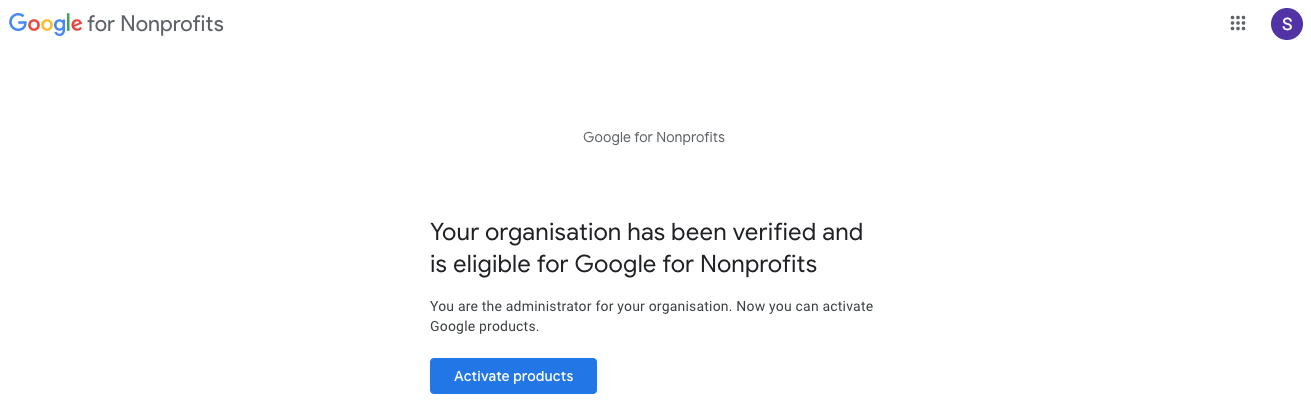
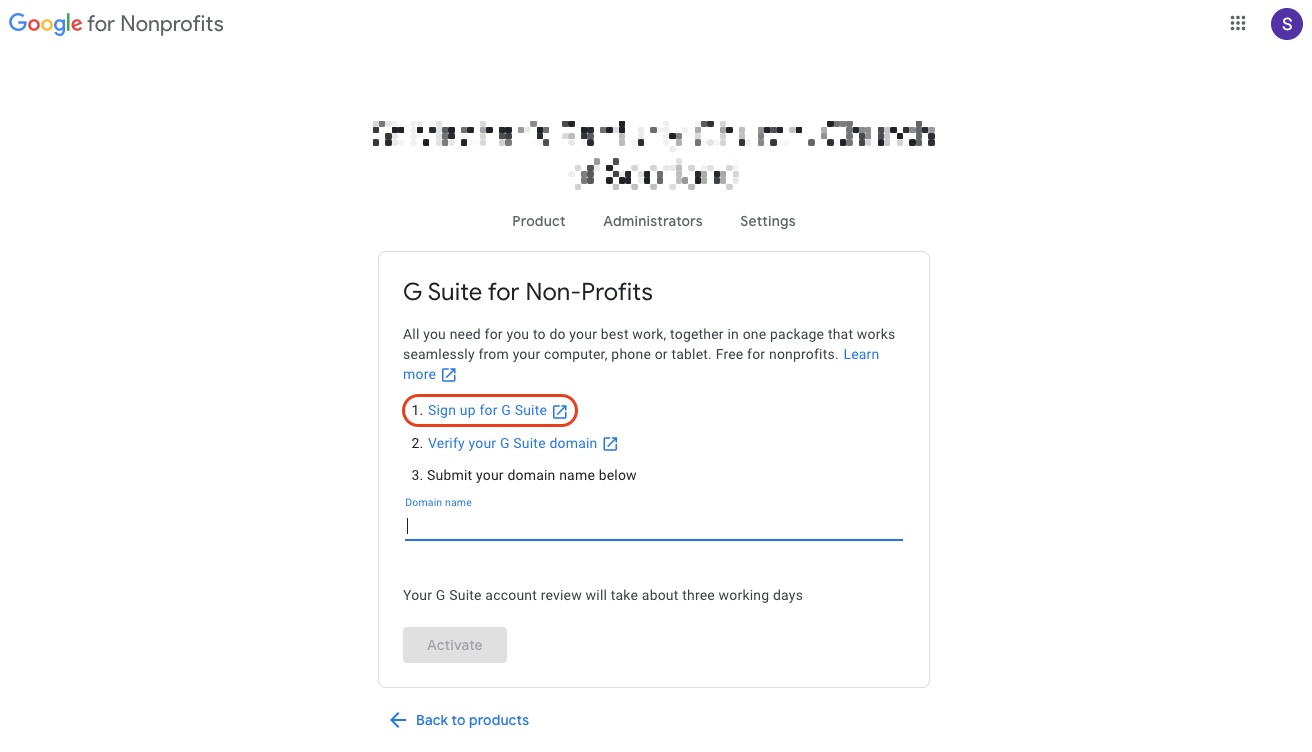
On the page that comes up, click the 'Get Started' button and, on the next page, click the 'Sign up for GSuite' link.
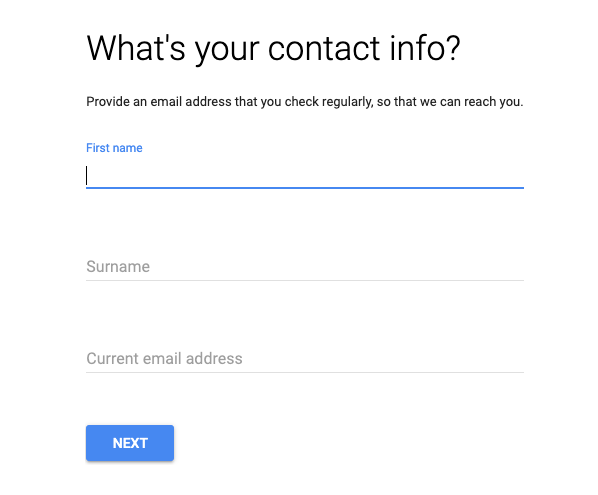
On the following page, click 'Next' and then you will be asked to enter your organisation name and the number of employees. You can count employees as only those who are paid, or you can include the volunteers who will have email addresses. You'll then be asked to confirm the location of the organisation and your organisation's phone number. This will be followed by a screen asking you to enter your First Name, Surname and email address. The email address should be the one you used to sign in with, or that you created 'To manage my business', at the beginning of the process.
Next you will need to confirm that your organisation has a domain name, and you'll then be asked to enter it and confirm that it is entered correctly.
You will then need to create a new email address, using your domain name, that will be used as the Admin account when signing in to Google for Non-profits.

After clicking 'Next' you'll need to decide whether you want to receive marketing emails from Google, prove you're not a robot, agree to the 'GSuite for Education and GSuite for Nonprofits agreement' and, finally, continue to the set up pages where you'll confirm you own your domain name.
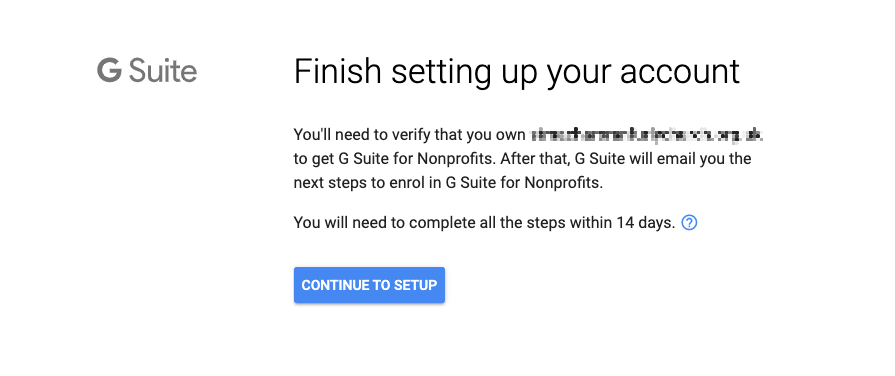
You will be asked to sign in to the Admin Console, using the new email address you created, using your domain name, that was to be used as the Admin login. Once logged in, you'll need to accept some more terms and conditions, click 'Next on the 'Welcome to the Admin Console' page and you'll then be able to verify your domain by clicking the 'Verify' link.
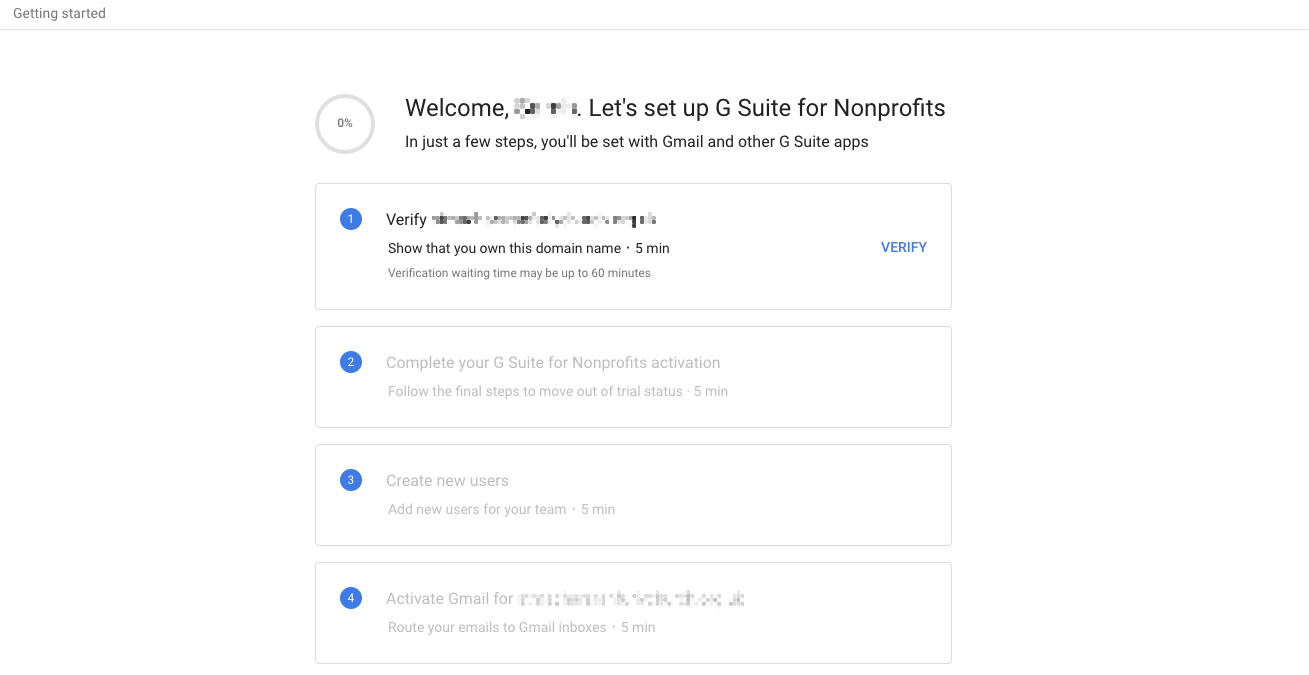
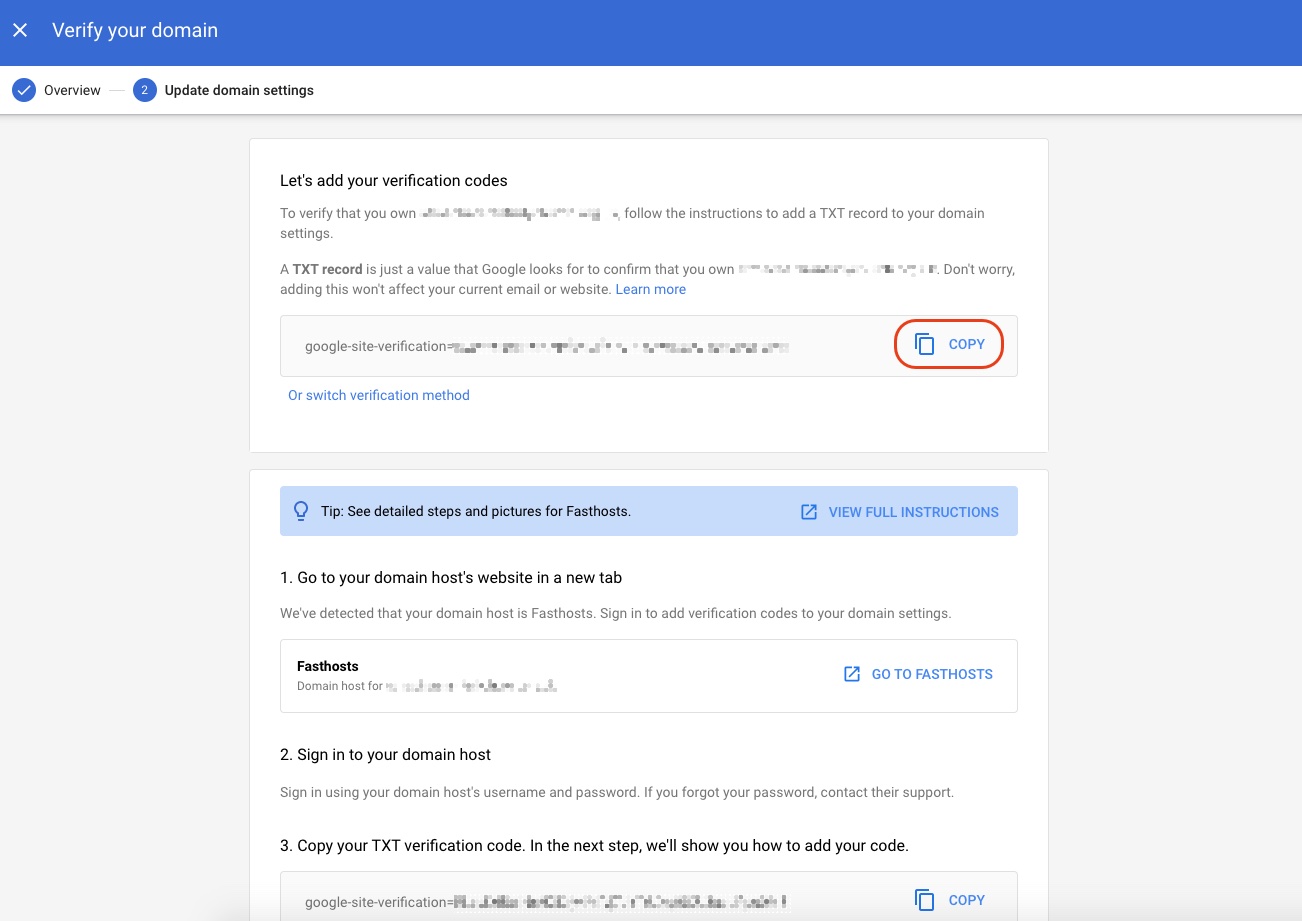
When you click 'Verify', Google will automatically offer the option to use 'TXT verification'. This is the method we want to use, so click 'Continue' at the bottom of the page.
Google will then give you a code for us to add to your domain name so copy the code and email it to helpdesk@editwebsites.co.uk. We will let you know as soon as we have done this.

Once we've let you know that the record has been added to your domain, you'll be able to click 'Verify' at the bottom of the page. It takes some time for the record to propagate, once it's been added to your domain, but you will usually be able to 'Verify' the page within a hour of it being added. It can take up to 24 hours, however.
Once the domain has been verified, you'll be taken back to the set up page where you'll need to click 'Create'.
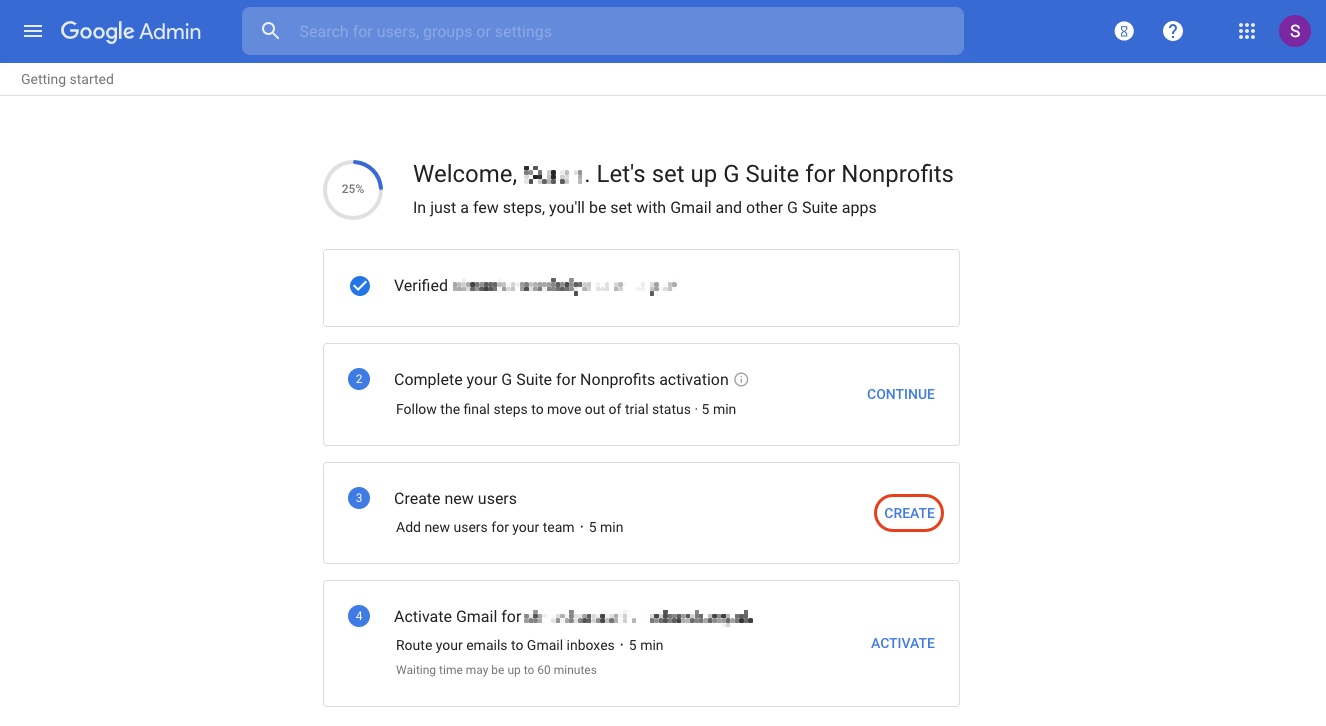
You'll see the email address you created as the Admin account already listed and you'll be able to add new email addresses by clicking the 'Add New User' link at the top of the page.

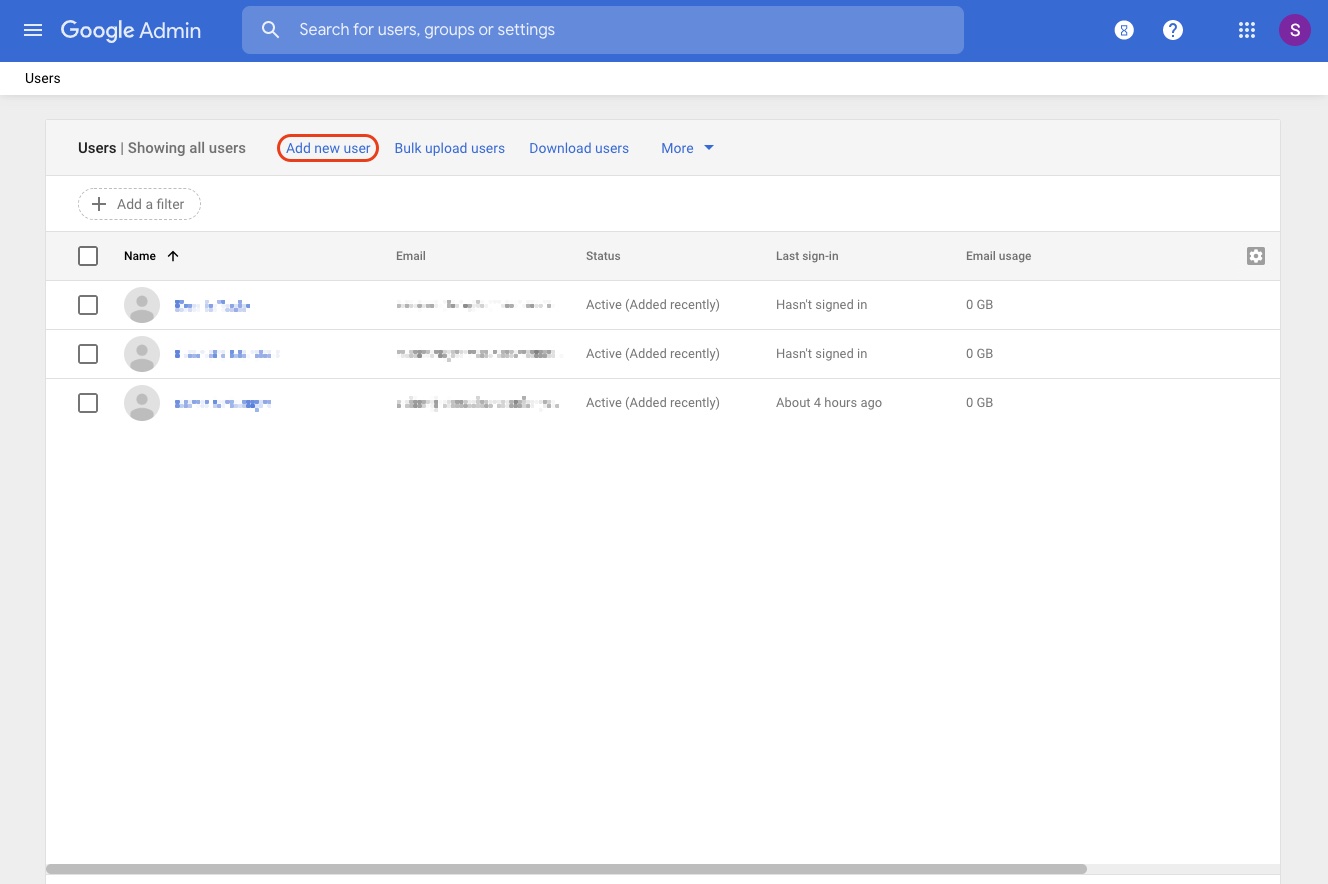
Enter the person's name, create the email address you would like them to have then click 'Add New User' at the bottom left of the window. On the following page, click the 'Click to copy password' link and then click 'Done' at the bottom right.
You are then able to paste the password you've just copied into an email and send it, with the new email address, to the person you set the address up for. They will be able to log in to their account by going to mail.google.com and entering the email address and password you've sent them.
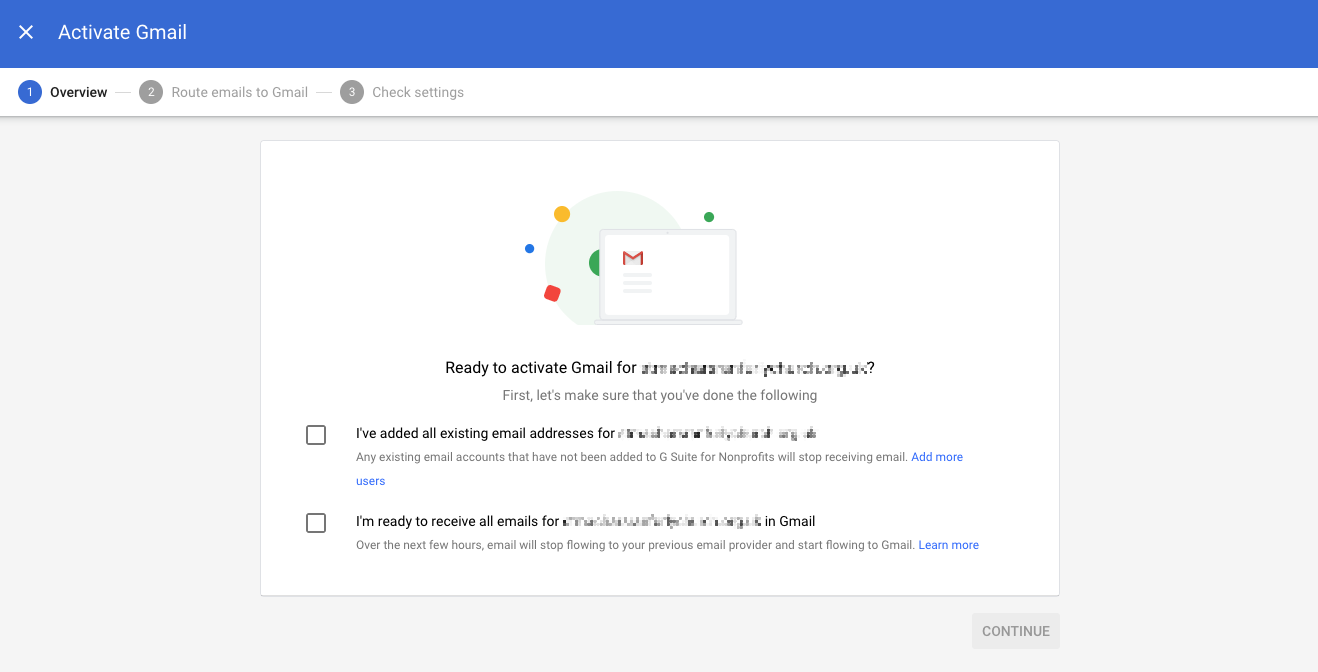
Once you've added all your users, click the burger menu at the top left of the page and select 'Home'. You'll then need to click the link to 'Set up the control panel'. You can then click the 'Activate' link in the 'Activate GSuite for....' section.
You'll then need to tick the 2 checkboxes, to say you've set up your email addresses and that you're ready to start receiving emails in gmail, and click 'Continue'.

On the next page Google will ask you to add some MX records to your domain. If we manage your domain, let us know that you want the MX records added and we'll add the for you. You'll then be able to click the 'Activate Gmail' button and you're set up is complete.
These instructions should be enough to get you started, there are many options and tools we have not covered here including Adwords grants which may be of benefit to your church and we suggest looking around and making use of the help files Google provides to make sure you can get the most out of the system.